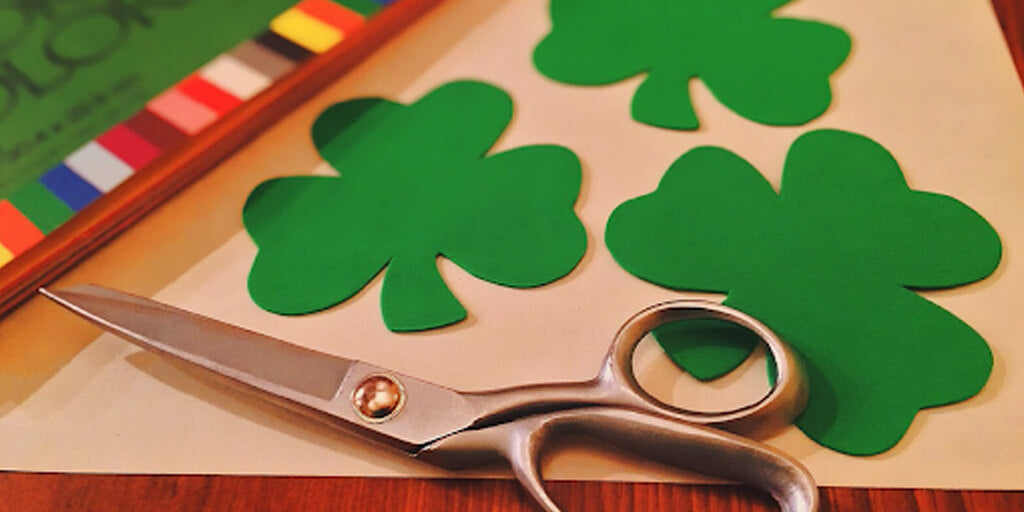
St. Patrick’s Day Crafts For The Whole Family
St. Patrick’s Day is coming up, and there are plenty of fun ways to create beautiful art projects with your children.St. Patrick’s Day is coming up, and there are plenty of fun ways to create beautiful art projects with your children. This springtime holiday is all about luck, rainbows, and the color green! Gather your kids, some simple art supplies, and make some wonderful memories together as you create adorable artwork to celebrate this month.
Here are our 14 favorite St. Patrick’s Day crafts you can do with the whole family.
1. Shamrock Finger Painting
For this craft, you’ll need a white paper and some green paint. Draw a large outline of a shamrock in thick black marker on a piece of paper. Help your child dip her fingers into the green paint and dot onto the paper. Assist your little one in filling up the entire shamrock with green fingerprints, and you’ll soon have an adorable art piece to display!
2. Leprechaun Handprint
If you have multicolored paints and some white paper, this adorable craft is for you! This craft will require assistance from an adult for younger kids. Turn your child’s hand palms-up, and paint her fingers red (or orange), and paint her palm a light color like peach or tan. Press her hand onto the paper, making sure all her fingers touch the paper. This handprint will become the leprechaun’s face. Grab some green paint, and draw a hat at the top of the head (which would be the bottom of the palm). Once the paint is completely dry, use a thick black marker to add eyes and a smile!
3. Pom Pom Rainbow
For this project, you’ll need a bag of multicolored pom poms, some craft glue, and a piece of paper. First, start by drawing a large outline of a rainbow on a piece of paper (you can color in the lines if that will help guide your child). Then, help your child fill the lines with the corresponding color of pom pom (start with red, then orange, then yellow, etc) until you’ve got a beautiful, fluffy rainbow!
4. Tissue Paper Pot Of Gold
You’ll need a pack of rainbow-colored tissue paper, some glue, and a piece of paper for this simple craft. Start by drawing a pot of gold in one corner of the paper (or print one from online). Then, draw the outline of a rainbow emerging diagonally out of the pot of gold toward the other side of the paper. Have your child break small pieces of tissue paper, and glue onto the rainbow where the corresponding colors would be. If your child needs assistance, have him dab spots of glue onto the paper with a q-tip, and you can tear and crumple the tissue paper. Point to where your child should place each colored piece of tissue paper until the rainbow is complete.
5. Dot Marker Shamrocks
If your child loves dot paint markers, this is the perfect craft! You’ll need a green dot painter and some paper. Help your child paint 3 or 4 leaf clovers using the dot markers, and then use a green marker to draw on stems. If your child wants, he can also paint a rainbow using other colors of dot painters too!
6. Shamrock Decorating
Get a white piece of paper, and cut out a large shamrock. Then, grab whatever green decorations you can - green buttons, green glitter, green paint, green sequins, green pom poms, and more. Let your child spread glue all over the shamrock, and then decorate in whatever way she pleases. Encourage your little one to cover the entire shamrock in decorative items. You can even punch a hole in the top of the shamrock, add some string, and hang it in a window!
7. Paper Plate Leprechauns
Get a white paper plate, flip it upside-down, and get some orange, black, and green markers. First, have your child color the outer border of the plate orange for the leprechaun’s beard. Then, draw two eyes, a nose, and a mouth in the middle of the plate. With a green piece of construction paper, cut a long rectangle and a square to make the leprechaun’s hat. Glue or tape the hat onto the top section of the paper plate, and your leprechaun face will be complete!
8. Leprechaun Fork Painting
Draw (or have your child draw) a leprechaun’s face and hat in the center of a piece of paper, without drawing the hair or beard. Then, dip a plastic fork in orange paint, and dab it onto the paper around the outer edge of the face to create the leprechaun’s beard. Add a few stamps at the top of the head toward the hat, and that will serve as the leprechaun’s hair. You can also make the leprechaun’s hat from green and black construction paper instead, if you prefer.
9. Toilet Paper Roll Shamrocks
If you have some green paint and empty toilet paper rolls, this simple craft is for you! Get a toilet paper roll, and bend slightly at the top so that it folds inward and resembles the shape of a heart (this might take some maneuvering until you get the shape right). Then help your child dip the end of the roll into green paint, and stamp onto a piece of paper. To create a shamrock, stamp the paper three times, with the pointed ends of the heart shapes touching. Paint or color the inside of the hearts green, add a green stem, and there’s your shamrock!
10. Apple Stamp Shamrocks
An apple can also serve as a great stamp for painting - and it’s large enough for small hands to grasp! Simply cut an apple in half, dip in some green paint, and stamp onto a white piece of paper three times in the shape of a shamrock. Draw on a stem for the finishing touch. This is a wonderful sensory project even toddlers can enjoy!
11. 3D Rainbow Craft
If you have some construction paper and glue, this is a simple and adorable 3D art project to do. Cut a small pot out of black construction paper, and glue at the bottom left corner of a piece of paper. Then, cut 1 inch strips of paper in red, orange, yellow, green, blue, and purple, and glue one end of the strips behind the pot. Cut out a large cloud from a piece of white construction paper, and attach to the other end of the colored strips. Pull the strips away from the paper, and then glue or tape onto the other corner of the paper. This slight looping of the paper strips will create a fun 3D effect.
12. Q-tip Shamrocks
Q-tips make good paint brushes for little hands. Grab some Q-tips and green paint, and help your child dip the end of the Q-tip in the paint. Stamp 3 green dots together in a triangular shape on the paper to create a tiny shamrock shape. Use a green marker or some paint to draw on the stem for each shamrock. Create as many shamrocks as your child wants! You can even add some green glitter for added effect.
13. Dot Painter Rainbows
Draw a black pot or cut a pot shape out of black construction paper. Glue onto one corner of a piece of paper. Then, help your child paint a rainbow using the colors red, orange, yellow, green, blue, and purple of dot painters (these are available at most craft stores or online). Talk about the different colors of the rainbow as your child stamps dots across the paper in a curved line.
14. Bell Pepper Shamrocks
Bell peppers make a great stamp for painting. All you need is a bell pepper, some green paint, and a sheet of paper. Cut off the bottom of the pepper, and help your child dip the bell pepper into the paint, making sure the edge is completely covered. Then, use the pepper as a stamp to make shamrock shapes all over a piece of paper. With green paint or a green marker, add some details to the shamrock and a stem coming out of each one. Food can be fun for artwork!
If you’re looking forward to the month of March, get the kids together for a day of crafting! This will be a fun time to create amazing art pieces to decorate your house for St. Patrick’s Day.
Do remember to follow us on Instagram @keababies and join our loving and supportive KeaCommunity Facebook Group!
Parenting is awesome. Sleep is overrated. Every day is an adventure.
|
|
Meet Our KeaMommy Contributor: Kaitlyn Torrez I’m Kaitlyn Torrez, from the San Francisco Bay Area. I live with my husband and two children, Roman and Logan. I’m a former preschool teacher, currently enjoying being a stay at home mom. I love all things writing, coffee, and chocolate. In my free time, I enjoy reading, blogging, and working out. |


