


How To Do A DIY Milk Bath
Breastmilk has some pretty amazing qualities, and not just for ensuring your baby’s growth. Did you know that you can actually add your breastmilk to your baby’s next bath to create a healing, calming experience for your little one?Breastmilk has some pretty amazing qualities, and not just for ensuring your baby’s growth. Did you know that you can actually add your breastmilk to your baby’s next bath to create a healing, calming experience for your little one?
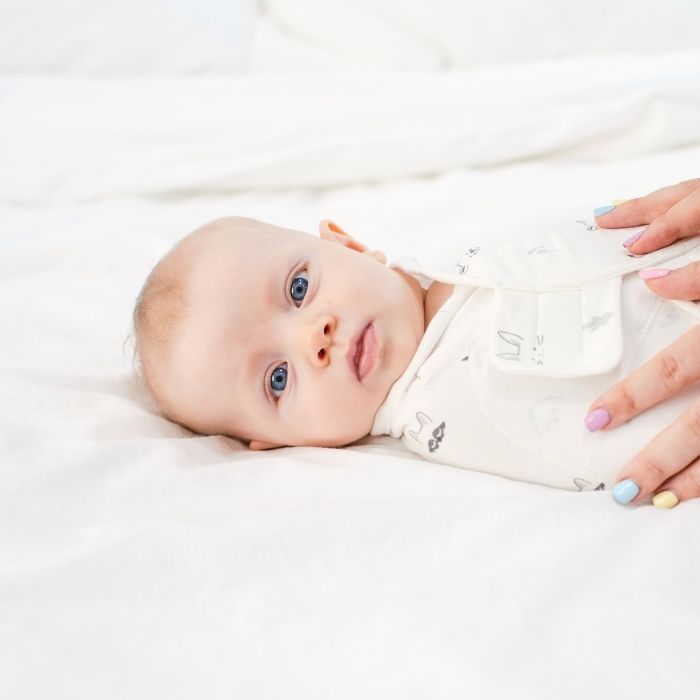
Milk baths have long been touted as an all-natural way to heal common ailments for little ones, from baby acne, to eczema, to dry skin, to diaper rash! Breastmilk contains anti-inflammatory and anti-bacterial properties, and is great for your baby’s sensitive skin. Don’t be alarmed - you won’t need to pump hundreds of ounces of milk to fill a tub. Just add a few ounces to your baby’s next bath, and you’ll be all set to give your baby a great milk bath experience!

Why is breastmilk good for your baby’s skin?
-
Breastmilk contains protein, fat, vitamins, and minerals - common ingredients in skin moisturizers
-
Breastmilk contains fatty acids, which can help moisturize your baby’s skin and prevent itching and redness
-
Breastmilk contains anti-inflammatory properties, which can help with redness
-
Breastmilk contains anti-bacterial properties, which can help fight off infection and irritation
-
Breastmilk contains powerful antibodies to protect your little one’s immune system
Breastmilk can be used to treat anything from diaper rash, to cradle cap, to minor cuts and scrapes, to eye infections, and more!
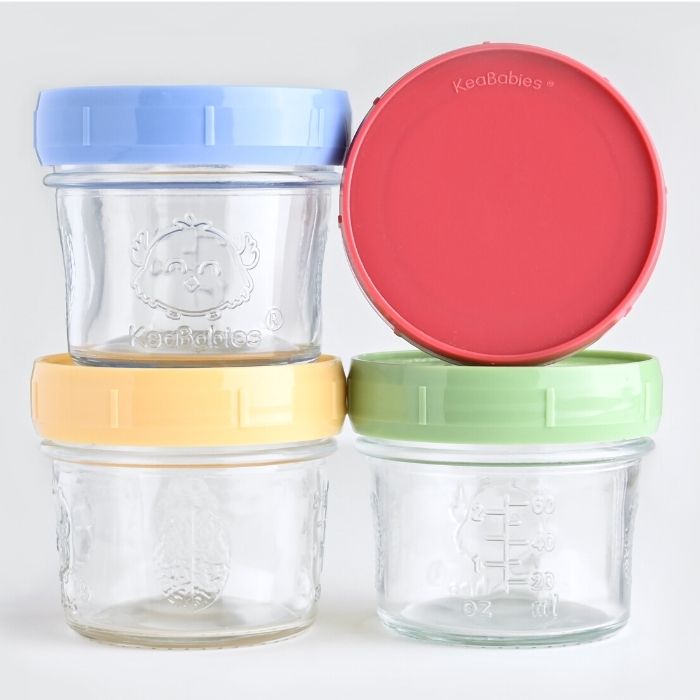
Giving your baby a milk bath every once in a while can have amazing healing effects on any minor skin ailments he’s dealing with. It’s not difficult to set up your own DIY milk bath at home. All you need is a tub, some pumped breastmilk (it can be fresh or thawed from frozen), and water!

How to do a DIY milk bath at home:
-
Fill the bathtub with warm water (a small baby bathtub works well).
-
Add the breastmilk to the water. You only need enough to make the water appear “cloudy” (usually 5-10 ounces will do).
-
Place your baby in the tub, and let him soak for at least 15-20 minutes.
-
Make sure the milky water reaches all areas of the body, especially areas of irritation.
-
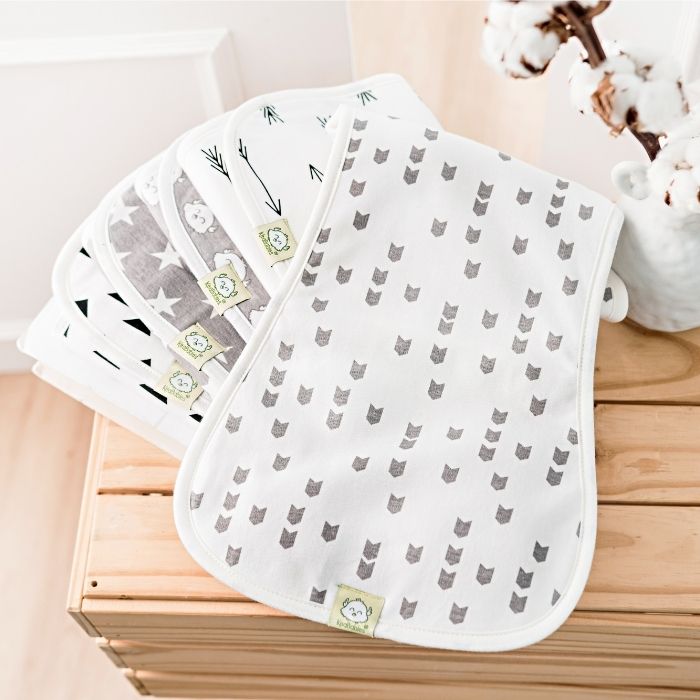
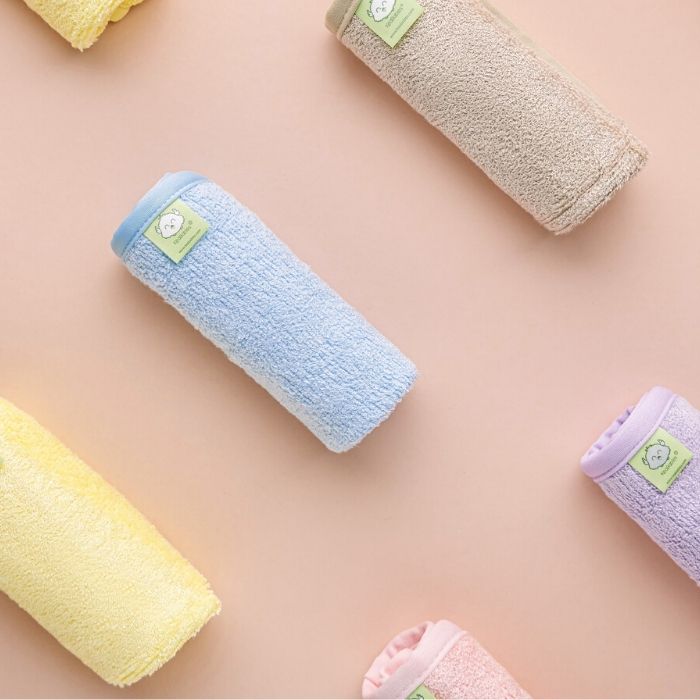
Gently pour the milky water all over your baby using a small cup or a soft washcloth, like the KeaBabies Baby Wash Cloths.
-
At this point - you can use a gentle soap and rinse your baby, or you can simply take your baby out of the bath and pat him dry. You don’t need to rinse off the milk - the longer it stays on, the better!
-
If you use lotion, give your baby a soothing massage using a dye-free, fragrance free lotion to lock in all the benefits of the breastmilk.
A milk bath is also a fantastic time to snap some adorable photos of your baby! Depending on your style and your baby’s personality, you can add props or food to the bath to create some cute photo keepsakes! Some parents like adding cereal, faux flowers, rubber ducks, or sliced fruit to the bath for a pop of color.

Breastmilk isn’t just great for baths, it’s useful for a number of things! You can actually make your own baby lotion using breastmilk too. This simple recipe from Medela is simple and only requires a few ingredients you can order online or at health food stores.
You’ll need:
-
1 tbsp beeswax
-
3 oz grapeseed oil
-
A few drops of vitamin E oil
-
3 oz breastmilk
-
Optional: a child-safe essential oil for scent
Microwave the beeswax and grapeseed oil in a microwave-safe bowl on low heat, until the beeswax has melted. Next, add in a few drops of vitamin E oil. Carefully pour the breastmilk into the beeswax mixture, and whisk everything together. Let the mixture cool and thicken. Store the lotion in a cool, dry environment (the refrigerator works fine too). You should test the lotion on a small patch of your baby’s skin to make sure she has no adverse reactions to the ingredients. Once you know her skin can handle it, use the lotion as often as you’d like!

Within a few days, you should be able to notice an improvement in your baby’s skin. If any irritation persists, be sure to contact your child’s pediatrician for an assessment and treatment plan.
Do remember to follow us on Instagram @keababies and join our loving and supportive KeaCommunity Facebook Group!
Parenting is awesome. Sleep is overrated. Every day is an adventure.
|
|
Meet Our KeaMommy Contributor: Kaitlyn Torrez I’m Kaitlyn Torrez, from the San Francisco Bay Area. I live with my husband and two children, Roman and Logan. I’m a former preschool teacher, currently enjoying being a stay at home mom. I love all things writing, coffee, and chocolate. In my free time, I enjoy reading, blogging, and working out. |

Most Popular

Join the KeaCommunity
For latest updates on new products, promotions, giveaways, and more.